

Fall chores make your property look great—but the combination of bending, twisting, lifting, and working in cooler temperatures can irritate the spine, hips, and shoulders. With a few posture tweaks, smarter lifting strategies, and a brief recovery routine, you can finish your list without finishing the day in pain.
Why fall yard work flares the back
- Repetition: Hundreds of bends and reaches add up, especially with wet leaves or heavy mulch.
- Flexion + rotation: Raking and bagging often combine a rounded back with twisting—an easy way to irritate discs and joints.
- Deconditioning + cold muscles: Cooler air tightens tissues; starting “cold” increases strain.
- Uneven ground & ladders: Balance gets challenged; slips lead to sudden, awkward loads on the spine.
Warm up first (3–5 minutes)
A short primer wakes up joints and tissues so they support you while you work.
- March + arm swings (60 seconds) to raise temperature and blood flow
- Hip hinges (10 reps): hands on hips, chest tall, push hips back, keep a neutral spine
- Cat–Cow (6 slow reps) to mobilize the whole spine
- Thoracic “open books” (5/side) for mid-back rotation
- Ankle rocks or calf raises (20 reps) to improve balance on uneven ground
Dress in layers and wear supportive shoes with tread. Gloves reduce forearm and shoulder tension from gripping.
Raking: technique that protects your spine
- Square your stance; move your feet: Face the area you’re raking. Walk forward as you pull the rake rather than reaching and twisting from the waist.
- Keep it close: Shorter, closer strokes keep the rake in your “power zone” (between mid-thigh and chest).
- Switch sides every 2–3 minutes: Change hand positions and stance to share the work across both shoulders and hips.
- Make more, smaller piles: Wet or large piles force more bending and heavy lifts later.
- Handle fit: If possible, use an adjustable or longer handle so you can stay more upright.
Mulching, lifting, and carrying—do it safely
Before you lift
- Plan the path: Clear tripping hazards; stage bags/bins near where you’ll use them.
- Test the load: Nudge with your foot or lift a corner first—split heavy loads.
The lift (hip hinge mechanics)
- Plant feet about hip-width.
- Hinge at the hips with a slight knee bend, chest tall, and neutral spine.
- Brace your core (think “exhale and tighten” around the beltline).
- Keep the load close to your body; stand up as you exhale.
- Turn with your feet—never twist your spine while holding a load.
Tools to save your back
- Wheelbarrow/garden sled: Push (don’t pull) with small loads; keep elbows close.
- Shovel/scoop: Move half a bag at a time into the wheelbarrow rather than carrying the whole bag.
- Team-lift when needed.
Bagging leaves & ground-level work
- Raise the work: Place the bag inside a barrel or bin at waist height to reduce repeated bending.
- Lunge stance: One foot forward, one back; hinge at the hips and keep the bag close to your body.
- Kneel wisely: If you must kneel, use pads and keep the spine long; switch sides often.
Decorating & ladder safety
- Three points of contact at all times (two feet + one hand, or two hands + one foot).
- Center yourself: Keep your belly button between the rails; avoid reaching or leaning. Move the ladder instead.
- Overhead work: Keep elbows slightly in front of shoulders and take frequent breaks to stretch chest and lats.
Pace yourself: a simple work–recovery rhythm
- 25–30 minutes work / 3–5 minutes reset.
- Between blocks, stand tall, place hands on hips, and do 5 gentle back extensions. Add 10 scapular squeezes (pinch shoulder blades together) and slow breaths (4-in / 6-out) to downshift tension.
Hydrate as you go, and rotate tasks (rake → lift → decorate) to vary which tissues are loaded.
Stretching & mobility (10 minutes post-yard work)
Hold each for 20–30 seconds, 1–2 rounds, breathing slowly.
Spine & ribs
- Standing back extensions (hands on hips) to counter forward bending
- Child’s pose with side bend to open lats and thoracic spine
- Doorway pec stretch (forearm on frame, turn away)
Hips & legs
- Figure-4 stretch (glutes/piriformis)
- Hip-flexor lunge (pelvic tuck, then shift forward gently)
- Hamstring strap stretch (long spine, hinge from hips)
- Calf stretch on a low step
A brief walk afterward and a warm shower can help relax tissues and support circulation.
Red flags—pause and call
Stop and seek care if you notice:
- Sharp, shooting pain or pain that worsens despite rest
- Numbness/tingling into a leg or arm
- Progressive weakness
- Bowel/bladder changes
- Pain that doesn’t improve in 48–72 hours
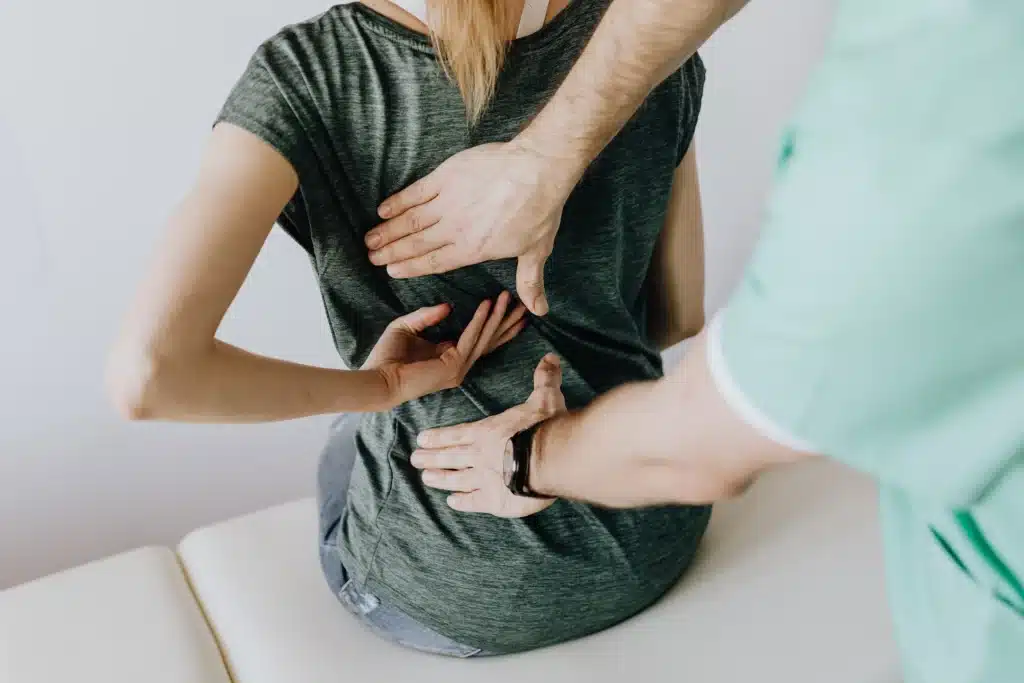
How chiropractic care helps you recover (and prevent flares)
Yard work loads the spine in three ways—repetitive flexion, twisting, and lifting—often on cold, uneven ground. Chiropractic care targets the joints, soft tissues, and nervous system patterns that get irritated by that combo so you can move easier, recover faster, and reduce the chance of a repeat flare.
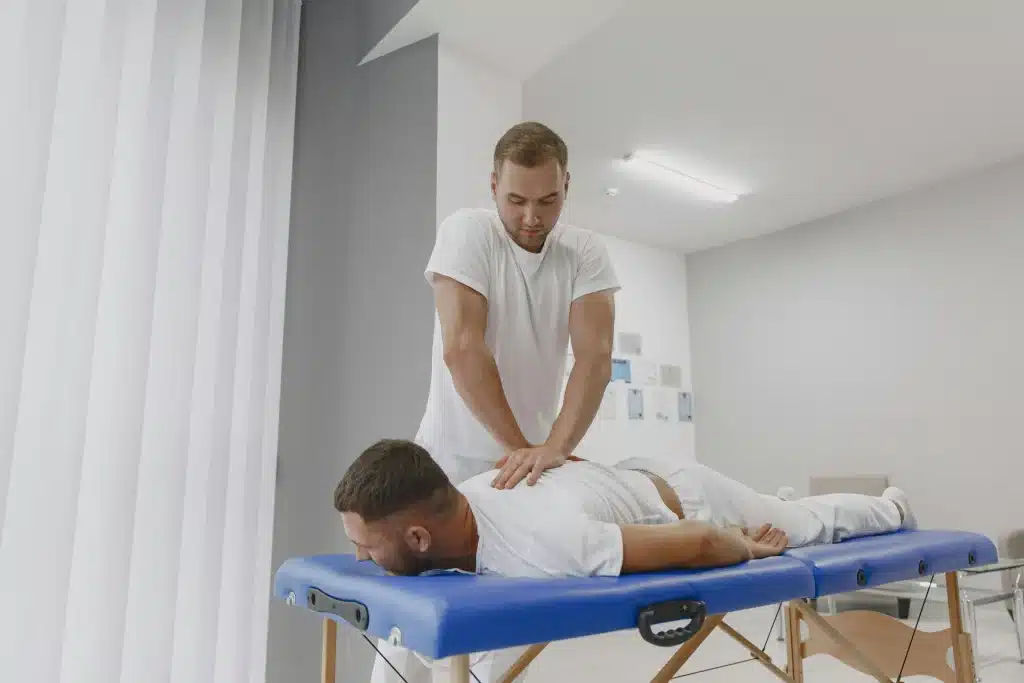
What we address (and why it helps)
- Spinal & rib joint motion: Gentle, specific adjustments restore gliding at the facet joints and rib heads. Better motion = less guarding, easier breathing mechanics, and more even load-sharing during bending and reaching.
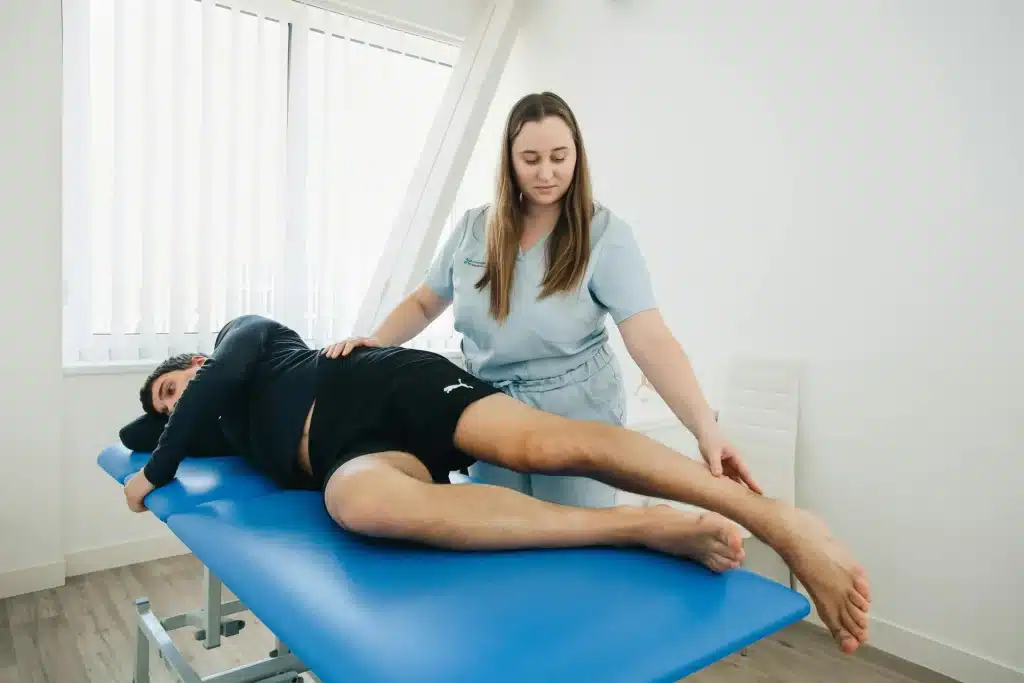
- Pelvis & hip alignment: Correcting small SI/pelvic restrictions helps hip hinge properly, sparing the low back and reducing strain during lifting and bagging.
- Thoracic mobility: Freeing the mid-back improves rotation, so you can turn with your body instead of twisting from your low back.
- Extremity joints (shoulder/ankle/foot): When feet and shoulders move well, your spine doesn’t have to compensate—key for raking, ladder work, and carrying.
- Soft tissue tone: Targeted myofascial work (hands-on release or instrument-assisted) calms overworked paraspinals, hip flexors, glutes, and forearm flexors/extensors, reducing hot spots and restoring normal movement patterns.
When disc or nerve irritation is suspected
- Spinal decompression (as appropriate): Intermittent, gentle traction can reduce disc pressure and help centralize leg pain in certain presentations. We start with a tolerance test and progress cautiously.
- Nerve mobility drills: Simple sciatic or femoral nerve glides (non-provocative dosage) can improve comfort and function as symptoms settle.
- Education on pain triggers: We’ll identify the specific ranges or activities that flare your symptoms and give swap-ins (e.g., hip-hinge alternatives, split-load strategies).
Breathing, core, and lifting pattern retraining
- Diaphragm-first breathing: Re-sets rib expansion and pelvic floor synergy—crucial for intra-abdominal pressure and spine stability when you lift.
- Hip hinge practice: Dowel-guided hinges and box lifts groove a neutral spine under load.
- Core stability (not endless sit-ups): Anti-extension/anti-rotation work (e.g., dead bug progressions, Pallof press) builds a bracing strategy you can actually use outside.
- Posterior-chain strength: Bridges, bird dogs, hip abduction, and hinge variations help your glutes/hamstrings share the workload so your low back doesn’t take it all.
What a typical visit plan can look like
- Assessment: Motion screen (spine, ribs, hips), neuro screen as needed, and a quick lift/hinge pattern check.
- Care: Adjustments (spine/ribs/extremities) + focused soft-tissue work; decompression if indicated and tolerated.
- Skill: 1–2 micro-drills you can repeat at home in 3–5 minutes (hinge refresher, breathing reset, or specific mobility).
- Recovery coaching: Pacing, hydration, heat/ice guidance, and when to resume heavier chores.
- Follow-up cadence: Often a short, front-loaded series to settle symptoms and restore patterns, then taper to maintenance as you normalize.
Results patients commonly report
- Less next-day stiffness/soreness and fewer sharp “catch” sensations
- Easier posture while raking or lifting; less shoulder/neck tension
- Better sleep after yard-work days, which accelerates recovery
- More confidence handling awkward tasks (bags, ladders, decorations)
Safety, referrals, and imaging
We refer or co-manage promptly if you have red flags (progressive weakness, significant numbness, bowel/bladder changes), persistent leg pain that won’t centralize, or suspicion of fracture/instability. Imaging is used judiciously when it will change management.
A sample “rake-day” plan you can copy
Before you start (5 minutes): warm-up sequence above + sip water.
During: work 25–30 minutes; reset 3–5 minutes (back extensions, scapular squeezes, slow breathing). Rotate tasks.
After (10 minutes): mobility circuit (thoracic opener, figure-4, hip-flexor, hamstring, doorway pec, calf). Hydrate and take a short walk.
That evening: light stretch, wind-down routine, aim for 7–9 hours of sleep.
Yard-work setup checklist
- Supportive shoes with tread
- Gloves and layers
- Long-handle rake or adjustable handle
- Wheelbarrow/garden sled
- Barrel or bin to raise leaf bags to waist height
- Knee pads (if kneeling)
- Water bottle/electrolytes
Need a tune-up—or want a personalized plan?
If fall chores have your back talking, we can help you recover quickly and build a plan tailored to your yard-work routine and goals.
Call or text 804-270-6010 to schedule at Health First Chiropractic & Wellness.
Work smarter, move better—and enjoy the season without the ache.